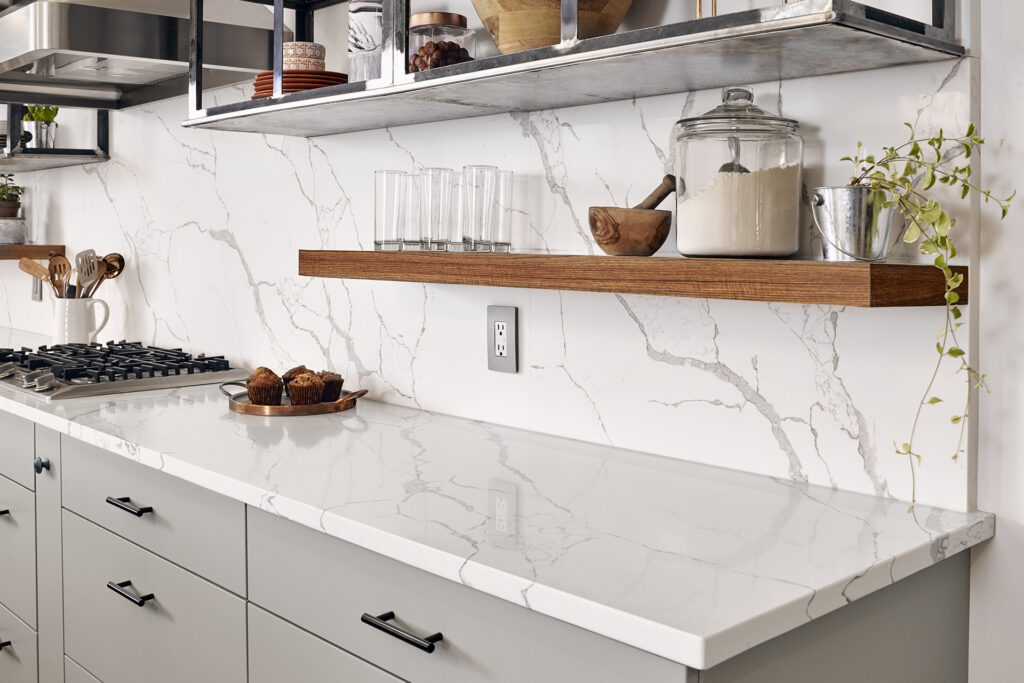
We're here to help!
We created this practical step-by-step guide walking you through each step of the countertop buying process.
When you’re ready, a Tops Design Pro is here to answer any questions and help you get started on your project.
Step 1: Estimate the Project
Get ready for your consultation
Some things you will be asked during an initial consultation are:
- What are your goals and objectives with your project?
- What motif or style are you interested in? (modern, rustic, farmhouse, etc.)
- Are you working with a contractor, designer, cabinet company, etc.? How did you hear about Tops?
- Does your project involve new cabinets?
- Are you reusing existing cabinets, sinks, or appliances?
- Is removal of existing materials involved? If so, who is doing the removal?
- Do you have a plan for backsplash – tile, slab, or something else?
- What sort of budget are you working with? Generally countertops should cost 1-2% of the total value of the property or 10-20% of just a kitchen or bathroom project.
Get an Estimate
To receive the most accurate estimate for your project, we will need:
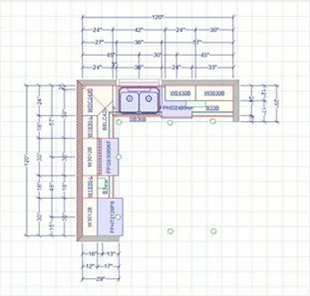
- Cabinet plan or a rough counter sketch (in inches) indicating sinks, appliances, walls. A photo of your existing kitchen or bath is also helpful if possible.
- Name (Contractor or Designer Name if applicable), site address, phone number, and email address to send the estimate to.
- Material selection or option to use our Group pricing.
- Sink selection – would you like to use our sinks, or do you have a sink you are providing?
- Backsplash plan – slab or tile backsplash?
You will be provided with an estimate and layout. Please review this for accuracy.
This is an estimate only and may change based on final measurements, material selection, and edge choice. Your final price will be based on what is measured at the time of template.
Step 2: Design Choices
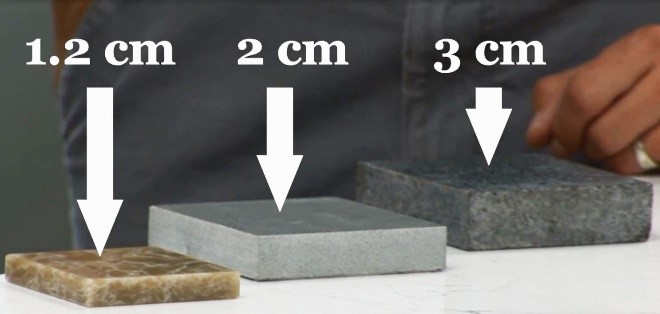
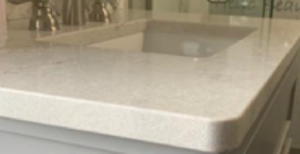
Countertops are available in a variety of thicknesses and edge styles.
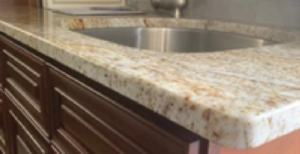
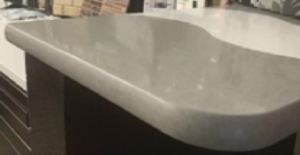
Edge Thickness
Front Edge Choices
Overhangs & Tolerances
- 3cm natural stone can have an overhang up to 10″ without additional support
- 3cm engineered stone can have an overhang up to 15″ without additional support (or based on manufacturer recommendation)
- Standard overhang is 1.5″ from the front of the cabinet box and on the sides
- Tops can supply inconspicuous overhang supports for a small additional cost. Overhang support provided by the customer will need to be installed by others prior to installation of countertops by Tops.
Appliances & Fixtures
- We will need to know the make, model numbers, and spec of appliances that need to be cut in the countertops. Drop-in cooktops will need to be on site at time of template.
- All sinks not supplied by Tops will need to be NEW, in box, and at the project site at time of template. Sinks will be brought back to our facility.
Freestanding Ranges
This is the most common type of range, which will have control panels on the back, will generally have a 30″ opening, and the sides will be polished. These ranges are not required to be on site.
Slide-In Range or Cooktop
(with controls in the front)
Usually require a “filler strip” which is a piece of counter behind the range. There is an additional cost for a filler strip. The appliance will need to be on site at the time of installation.
*If your range includes a separate downdraft cutout, an additional charge will apply to your quote.
Dishwashers
Most dishwashers will attach to the cabinets on the side of the flange; however, Tops will add a metal dishwasher bracket to all jobs that spans a dishwasher opening (24″).
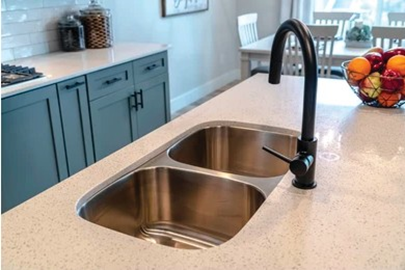
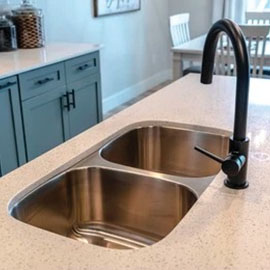
Sinks
- Tops has a variety of high-quality sink options.
- If you are providing the sinks, they need to be on site at the time of template and placed in the correct location.
- All sinks must be new, in boxes, and include a model number. All farm sinks must be sitting in cabinet box with tops of sink flush with the top of cabinets at time of template (set by others). Custom sinks may require an additional template fee.
- Customer-supplied sinks (not farm sinks) will be brought back to our shop for digitizing. Sinks will be returned on installation date.
Sink Styles
Undermount (most common)
Mounted underneath the polished countertop material. Sinks are set by Tops, reconnected by plumber.

Topmount
Sink sits on top of the counter. Sinks are set by plumber.

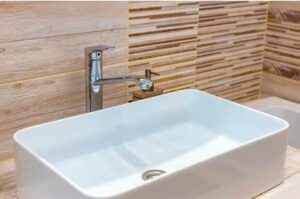
Vessel Sinks
Vessel sinks sit on top of the counter, and are installed by a plumber.
Dual Mount Sinks
Can only be top-mounted and will not work as an undermount application.
Semi-Recessed Vessel Sinks
Sit halfway inset in the countertop, halfway on top of the countertop (additional fees are associated with this type of sink). Sinks are set by plumber.
Sink Materials
Stainless Steel
Typically 16-gauge, durable, scratch-resistant, and affordable.

Granite Composite
Tops sells Blanco Silgranit Sinks in all models/colors, and mid-priced.

Porcelain
Also includes porcelain-coated cast iron sinks, most common with farm style sinks.
*Sink drain kits are sold separately. All sinks come with a standard hole(s) in the bottom, drains not included.
**Faucets, drains, garbage disposals, and other fixtures can be purchased through Tops at an additional cost.
Faucet & Faucet Holes
- At time of template, the faucet hole placement will be discussed. Please have all fixtures available for our Templator to review hole placement with you.
- The standard size of a faucet hole is 1 3/8″. A single faucet hole is generally easier to clean around.
- Will an “air switch” be required for garbage disposal within an island?
- Will a sprayer be installed?
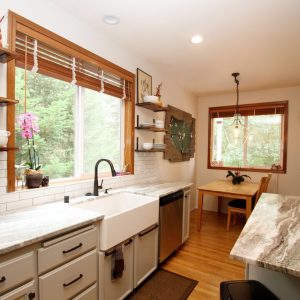
Backsplash Options

5-inch Backsplash

Full-Height Backsplash

Tile Backsplash
Cutouts & Pricing
- Cutouts (such as sink or cooktop locations on a slab) will have a central hole pierced through them during fabrication and are discarded. No cutouts will be saved.
- Projects are based on a per square foot basis and any “extra pieces” will need to be specified prior to template and will be charged for accordingly.
- For custom order slabs the price will typically include the value of the slab. Your best value option is always what we have in-house or in our tier offerings!
Plumbing & Electrical
- It is recommended to have a plumber disconnect your sinks, disposals and faucets before we can remove and install your new countertops, especially if you are keeping any existing fixtures. Tops is not liable for any lost parts or pieces during removal.
- Sinks must sit for 24 hours before reconnection, and Tops suggests calling a licensed plumber for any reconnections. Please ask for our referral list.
- If we are doing full height slab backsplash, we will remove face plates and pull the electrical outlet from the wall. If any outlets need to be moved, it is your responsibility to have them relocated prior to templating. Upon completion, resetting the outlets with longer screws is the responsibility of the customer. Please ask for our referral list for a recommended electrician.
Caulking
- Undermount sinks, backsplash and counters are caulked during installation. Depending on the material, a white translucent (milky) caulking will be used. Typically, paintable caulk is used where stone meets sheetrock, and 100% silicone (non-paintable) caulking is used where stone meets stone or stone meets cabinets.
- If you intend to keep your existing backsplash, caulking will need to be completed by you to match your tile.
- If you intend to keep existing backsplash, caulking will need to be completed by you to match their tile. Tops does not provide service to match caulking to existing tile.
- Caulking requires regular maintenance and may shrink overtime, or with house settling.
- As part of stone care and maintenance, caulking may need “touched-up” as needed.
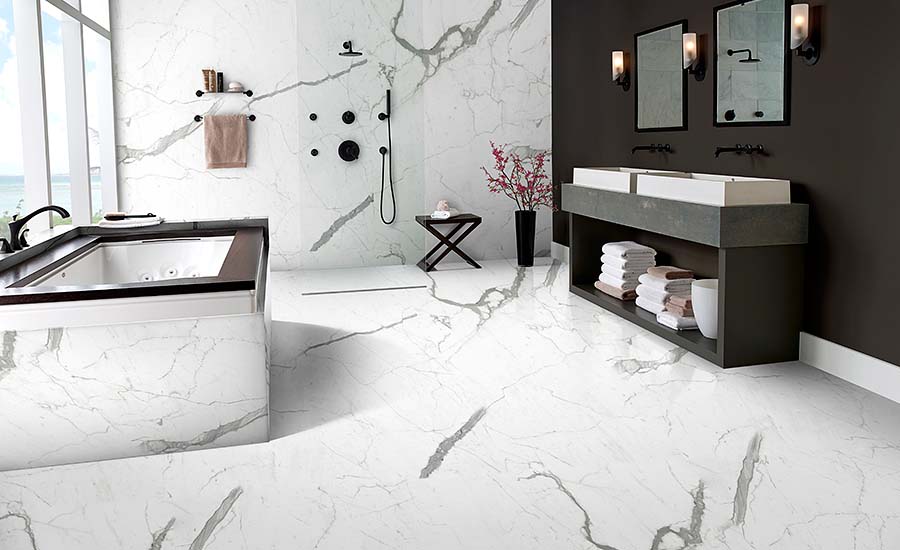
Step 3: Choosing Materials
Material selection is probably the hardest and one of the most important parts of the countertop buying process.
Tops carries a large inventory where you can hand-select your slabs. You are also welcome to select materials from your choice of distributors. Ask your Design Associate for a list of local material suppliers.
General Color & Design Tips
- A good design rule is to “Contrast not compete” meaning that often, a darker material will compliment a lighter cabinet and vice versa. Just as there are multiple variations of white, it may be better to contrast completely instead of trying to match exactly. If you are matching “white on white” for example, make sure you are matching samples for correct shades of “white” to avoid looking “yellow.”
- Neutral light is important to consider. Do you want to “brighten” your space?
- Different color “accent” island – consider selecting an exotic island in contrast to your perimeter counters.
- Having paint, cabinet, and flooring samples will help with your decisions.
- If you need additional in-home design advice, a Tops Design Associate can meet with you at your property for a fee.
Choosing Material from a Sample
When selecting from a stone sample, these are representatives of the product and show only the type of material found within that particular range of stone.
In stock full slabs are available for viewing in digital format, or at our local distributors.
**Color variation is expected and an exact match to samples cannot be guaranteed. **
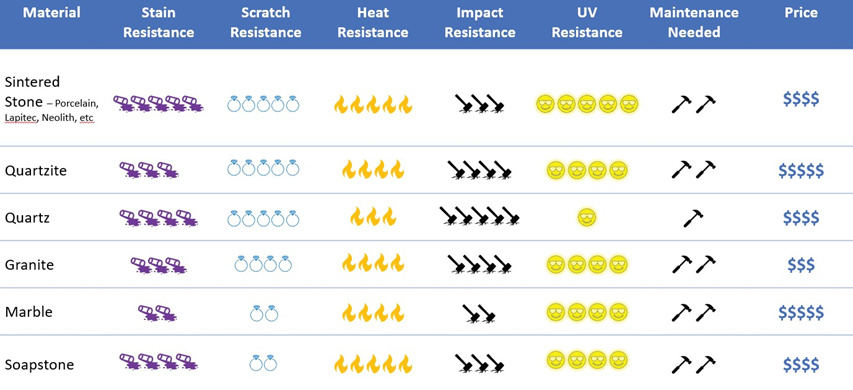
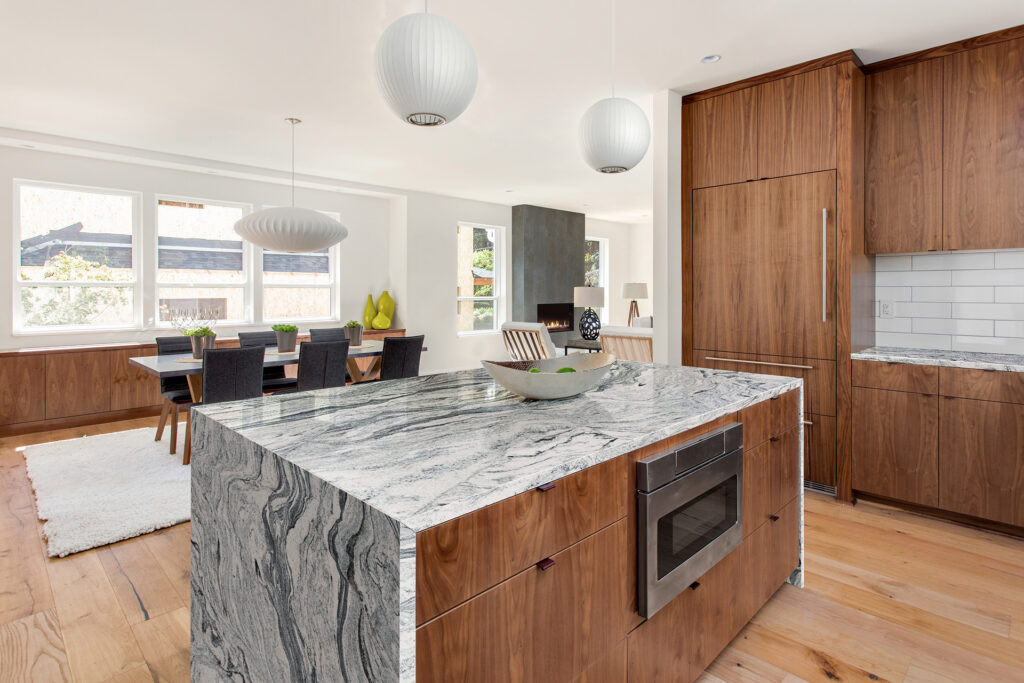
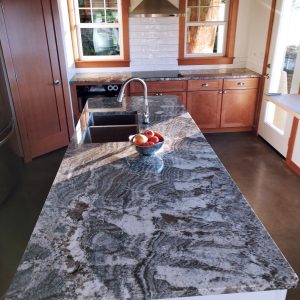
Types of Slab Materials
Natural Stone
Natural sedimentary rock of various types from quarries all over the world, sliced up, and polished.
- Granite
- Marble & Soapstone
- Quartzite
Man-made/Engineered
Natural sedimentary rock of various types from quarries all over the world, sliced up, and polished.
- Quartz
- Microscopic pieces of quartz and stone bound together using a polymeric or cement-based binder.
- Ultra-Compact Sintered Stone
- Large Format Porcelain Slabs
- Dekton
- Neolith
- Lapitec
Types of Materials Finishes
Polished
Most common type of finish; easy to clean and maintain.
Honed
Textured, unique finish (also known as antique or brushed).
Leathered
Matte finish, does not reflect light, hard to maintain, and shows fingerprints.

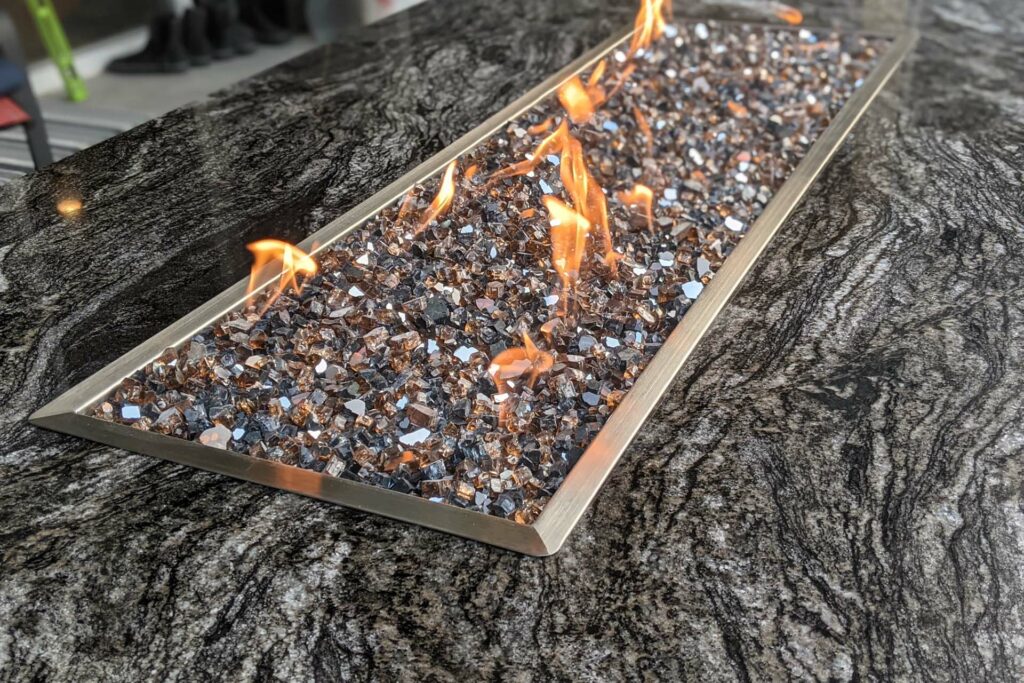
Granite
- The most common type of natural stone used for countertops Granite comes in many different types, each composed of different natural materials and properties. What we in the industry call granite is actually many various types of stone formed by millions of years of underground pressure and/or heat.
- Granite is an extremely hard surface that is very scratch resistant.
- We do recommend using a granite trivet as a cutting surface which we can sell to match your countertops, as cutting on stone could dull knives.
- Granite is heat resistant; however, we do recommend using a trivet or hot pad to set hot pans on. Thermal shock or cracks can occur if the countertop is subject to extreme temperature changes.
- Can be used in outdoor applications or around a fireplace
- Each stone is unique and subject to variations in background color, veining distribution and veining pattern. Fissures and pitting are naturally occurring features in granite and should not be considered a defect. These natural features will not affect the performance of granite.
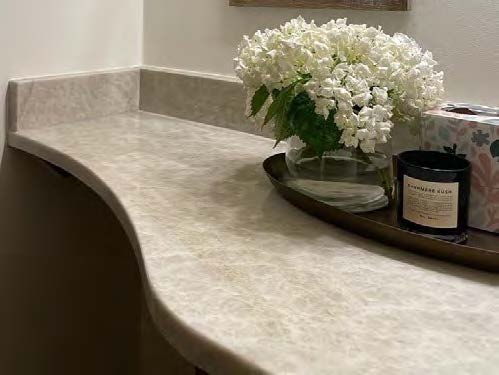
Marble & Soapstone
- These materials have a unique color and appearance.
- Great choice for backsplashes, and less trafficked areas that don’t see a lot of food preparation.
- Choosing these stones for kitchen applications is acceptable, but the likelihood of these materials staining, and scratching is much greater than with polished granite.
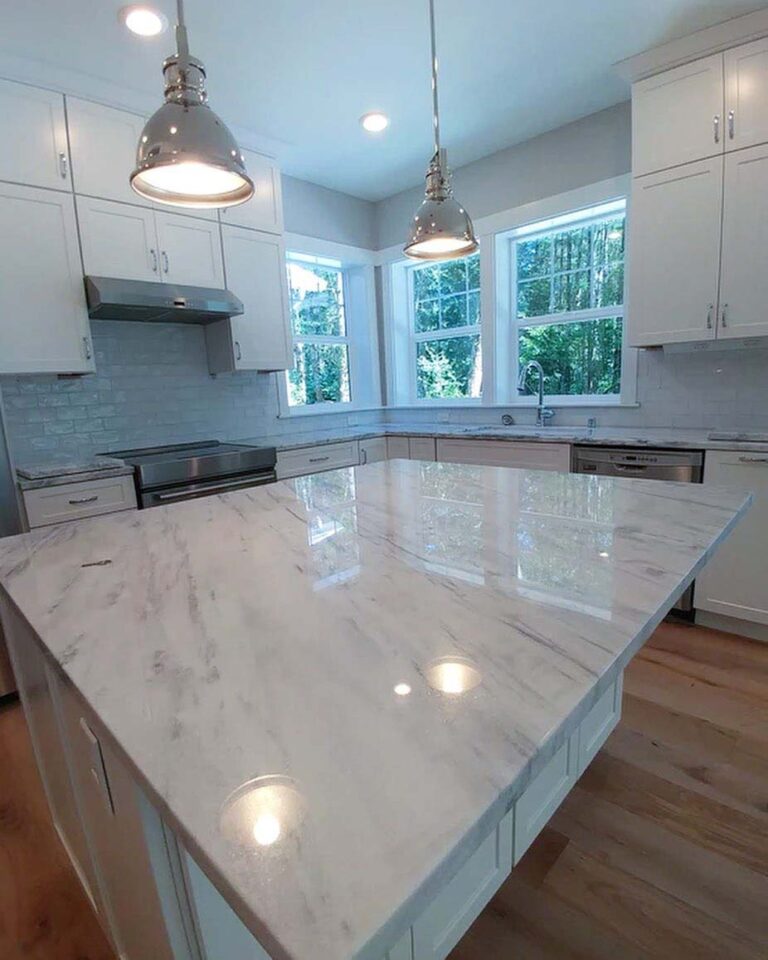
Quartzite
- True Quartzite is extremely hard (harder than most granites) and dense. It is also on the higher end of the pricing spectrum to be used for countertops.
- Tops recommends hand- selecting any natural slab.

Quartz
- (AKA “Engineered Stone”)
- Quartz has gained popularity recently as the colors have improved, offering bright, vibrant options, and often imitating natural stone.
- Easier to clean than granite.
- It is comprised of approximately 93% stone aggregates and 7% polyester resin by weight and is pressed into slabs or large blocks that are polished.
- Seams and shading variation may be more visible with Quartz products than other products.
- Not UV stable and will fade with direct sunlight. Tops does not recommend or warranty quartz materials for outdoor installations. This material should be used for indoor applications only.
- Quartz is not as heat resistant as other options and we would recommend using a trivet or a hot pad to set hot pans on.
Ultra-Compact Sintered Stone
- (Porcelain, Dekton, Neolith & Lapitec Slabs)
- Ultra-compact is a fairly new product in the market and is gaining popularity as durability, tooling and processing methods are being developed.
- Ultra-compact products provide a unique texture and look that cannot be captured in natural or engineered stone.
- Produced by a process called sintering; the process of compacting and forming a solid mass of material by heat or pressure without melting it to the point of liquification.
- With nearly 0% porosity, it is a hygienic surface resistant to acidic liquids, heat, staining, and scratching.
- Very low coefficient of thermal expansion makes it thermal shock resistant from both extreme heat and extreme cool.
- Good choice for exterior and high traffic applications.
- Extremely easy to maintain; chips, however, are extremely difficult to repair.
Layout Approval & Seams
- Seam placement is at the discretion of Tops, and in accordance with industry standards. Every effort will be made to ensure that seams are placed in the best location for structural integrity and aesthetic value.
- Seams may vary 1/16″ to 1/8″ and may be visible to the eye and touch.
- Some materials may experience shade variations where the two pieces come together (this is common with Quartz material).
- Tops reserves the right to use multiple seams based on slab yield and material availability.
- Tops reserves the right to add a seam when needed to pieces that are wall to wall based on, but not limited to the following – restricted access, overall length of piece, material durability, and cutouts.
- Upon selection of materials, you can purchase a slab layout appointment to work with our team to approve your layout prior to fabrication for a small fee.
Step 4: Finalize Your Order
Once you have decided on the items above with our sales team, we ask for a signed proposal and 50% deposit (unless previous terms have been set up). We will then secure your material, and reserve space on our installation schedule for your new project.
Your Project Timeline After Signing:
- You’ll receive an email scheduling our template and installation dates from our scheduling
- Laser template measurements are taken at your home by our technician.
- After template, price checks will be completed by our technician and emailed to you.
- Your slabs will be fabricated at our facility.
- Scheduled installation completed on the appointed installation date.
- Any touchups, remakes, or tile backsplash installation will occur on a follow-up date.
- Final payment is due upon completion unless other terms are Phase billings may be sent out for larger, more complex projects with multiple phases (separate cabinets, countertops, and tile installation dates for example).
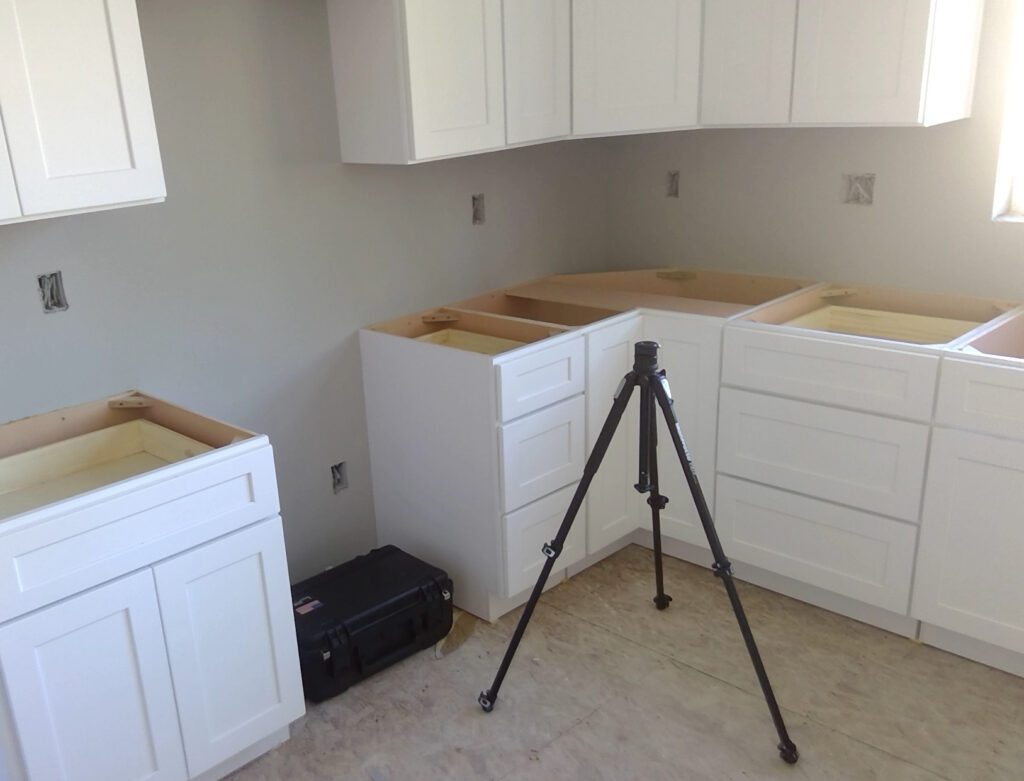
Step 5: Template
What We Need At The Project Site On Template Day
A clear kitchen or bathroom environment that we are templating with no large obstructions in the way.
If we are templating your existing countertops, please clear all items off for template.
A decisionmaker to be on site to review all final details, such as radiused corners, overhangs, faucet placement and other design questions that may arise during the appointment.
For new cabinets, all base cabinets must be permanently levelled and screwed to the wall, as well as all finished end panels (including full height fridge panels or adjacent pantry cabinets) which must also be installed.
Sinks (if provided by you) must be on site and in their original box with a model number. Note: Dual deck or dual mount sinks cannot be undermounted.
Undermount farm sinks to be installed (in place) PRIOR to the template appointment, including any necessary cabinet modifications.
Faucets and any additional fixtures that require holes to be drilled must be on site (you may also have specifications available if the faucet cannot be on site).
Stove or cooktop information needs to be on site or specifications available for the Templator.
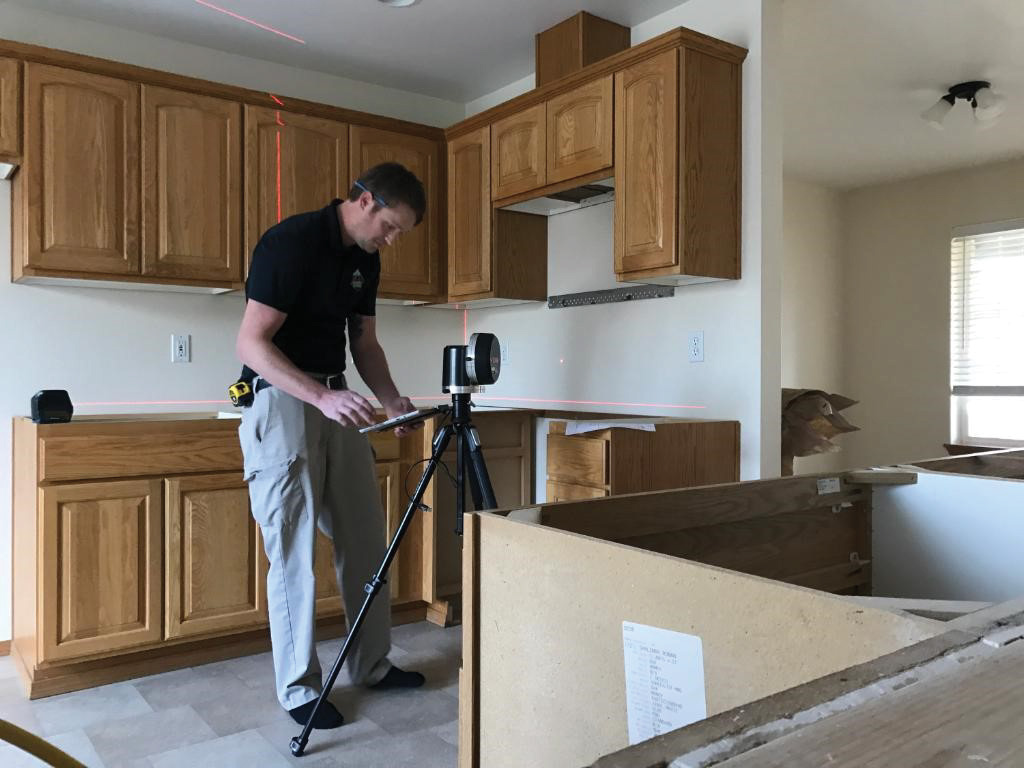
Any details not finalized at the time of template will delay the installation date such as:
- Job not ready for measure (cabinets not installed or secured/job site not accessible.
- Missing items on site such as owner provided sinks, cooktops, or other items.
- Decisionmaker not on site to sign off on final details.
A return trip charge will be accessed for items not on site at time of template, or for any after template changes. Additionally requested trips for drilling holes not discussed at time of template will incur a fee.
Step 6: Installation Day
On installation day, our installers will arrive with your countertops. Normally, your installation will be completed in less than a day- even for projects that require removal of existing countertops.
If your project requires seams, epoxy will be used. The Stone Technicians will use a dye kit to color match the epoxy to your countertop, and the odor of epoxy will dissipate quickly. Your counters will be ready for use as soon as our installers have finished, but plumbing cannot be connected until the next day.
Tile backsplash installation will require additional days.
What You Need To Do For Your Installation
- For the safety of our installers and your household please ensure a clear pathway to the installation area. Stone is HEAVY! Remove any loose rugs from the floor and ensure floor surfaces are dry.
- Children and animals underfoot put them at risk. Please make sure on installation day, animals and children are away from the workspace.
- Please schedule other construction trades – floors, painting, plumbing, concrete, etc. so they are not scheduled to be there at the same time as the countertop installation. If other trades prevent the installation from happening, the job will need to be rescheduled and a return trip fee will be added to the final bill.
- Adults and children with respiratory issues (asthma, COPD, etc.) should not be at the site on the day of installation. On occasion, stone may need to be cut, ground down, or polished on site, creating a layer of dust. We will do everything possible to contain the dust, however homeowners should be aware there will be dust.
- We recommend that the windows be open during this process. The process of installation requires the use of epoxies and/or other resins which produce a strong odor.
- In order to properly install sinks, it is not uncommon for cabinets to be cut or modified at the time of installation.
- Let your countertops set for 24 hours before reconnecting utilities or installing any fixtures.
- All plumbing, gas and electrical connections must be disconnected by the installation date. Tops will mount sinks, and drill faucet holes, but will not connect plumbing. Tops is happy to refer you to licensed professional to schedule this work.
- Care will be exercised during the installation process; however, during tear out of existing counters, and installation of new countertops, some unavoidable damage may be done to existing tile, backsplashes, drywall, wallpaper, and paint. These items are considered incidental damage and are the customer’s responsibility to repair.
.

COUNTERTOPS ARE IN!
Final payment is expected on the day of completion or according to the terms with the account. You should have received an emailed invoice which you can “Click-to-Pay.”
Make sure to tell us about your experience! Word of mouth referrals are the best in supporting local business.

TOPS Kitchen Visualizer Tool
TOPS Bath Visualizer Tool
Ready to Get Started?
Schedule an appointment to browse our huge Showroom & Design Center in Lacey! We’ll pair you up with a Tops expert who will get to know your project and style, and help guide you through the process of turning your dream kitchen into a reality!